|
We all have collections of random items that we don't know what to do with. Small items that we keep because they bring us joy, but they sit in boxes, packed away in a closet or the garage or (gasp!) storage unit. But if these items are important enough to keep, they're important enough to display. Enter The Shadowbox. Shadowboxes aren't just for sports memorabilia or dioramas. With a little bit of creativity, you can really shadowbox anything. Step 1: Decide what items you'd like to display If you've Marie Kondo'd your life (we have) then you'll already know what these items are. If not, go through those boxes and really consider the items they contain. It could be a collection of your grandmother's costume jewelry (you just can't part with all of those earring even though half of them have lost their pair) or a bunch of miscellaneous items you found in the bottom of your junior high sewing basket (you thought you'd go into fashion once upon a time) or vintage office supplies you found in a pile of free stuff at a yard sale (retro labels and colors!). Step 2: Choose a shadow box Take a trip to your local arts and crafts store to choose the size and color of the shadow box you'd like to display in your home. If they don't have the right color, buy a tube of cheap craft paint while you're there too and paint the frame. Step 3: Play with arrangement Once you get your box (or boxes) home, pop out the back and lay it our on your table. Use this as your size template - you want to make sure everything fits before you start gluing, taping, etc. You can line things up in rows, place a single item in the center, or puzzle everything together. Each method will give you a distinct look when finished. This is also a good time to think about the actual backdrop. Your shadow box will come with a cardboard back - you can paint it or cover it with scrapbook paper. Step 4: Attach items When you're happy with your layout, decide how you wan to attach the items. Double sided tape will work great for flatter items, while hot glue will work for most other things. If you're worried about damaging the item, you can hold it in place with pins (like they use on insect specimens) or putty if you think you might want to take the item back out at some point. Be careful to gauge the height of your items as well - before gluing anything, always lay the shadow box over the back to make sure you'll be able to close it. Step 5: Put together Now it's time to place the backing and the shadow box back together. Most boxes fasten in the back just like a picture frame. Step 6: Display Hang your box on a wall (make sure it's secure) or place it on a shelf to enjoy! 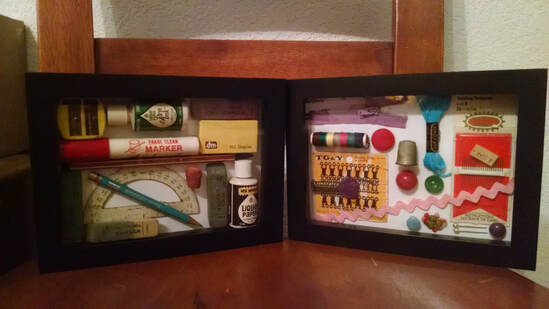 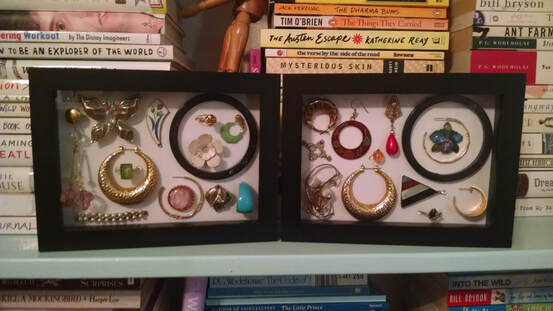
0 Comments
Leave a Reply. |
Create
"Adventure is the ultimate act of creativity." ~Miss Adventure Archives
December 2018
Categories |
 RSS Feed
