|
We all have collections of random items that we don't know what to do with. Small items that we keep because they bring us joy, but they sit in boxes, packed away in a closet or the garage or (gasp!) storage unit. But if these items are important enough to keep, they're important enough to display. Enter The Shadowbox. Shadowboxes aren't just for sports memorabilia or dioramas. With a little bit of creativity, you can really shadowbox anything. Step 1: Decide what items you'd like to display If you've Marie Kondo'd your life (we have) then you'll already know what these items are. If not, go through those boxes and really consider the items they contain. It could be a collection of your grandmother's costume jewelry (you just can't part with all of those earring even though half of them have lost their pair) or a bunch of miscellaneous items you found in the bottom of your junior high sewing basket (you thought you'd go into fashion once upon a time) or vintage office supplies you found in a pile of free stuff at a yard sale (retro labels and colors!). Step 2: Choose a shadow box Take a trip to your local arts and crafts store to choose the size and color of the shadow box you'd like to display in your home. If they don't have the right color, buy a tube of cheap craft paint while you're there too and paint the frame. Step 3: Play with arrangement Once you get your box (or boxes) home, pop out the back and lay it our on your table. Use this as your size template - you want to make sure everything fits before you start gluing, taping, etc. You can line things up in rows, place a single item in the center, or puzzle everything together. Each method will give you a distinct look when finished. This is also a good time to think about the actual backdrop. Your shadow box will come with a cardboard back - you can paint it or cover it with scrapbook paper. Step 4: Attach items When you're happy with your layout, decide how you wan to attach the items. Double sided tape will work great for flatter items, while hot glue will work for most other things. If you're worried about damaging the item, you can hold it in place with pins (like they use on insect specimens) or putty if you think you might want to take the item back out at some point. Be careful to gauge the height of your items as well - before gluing anything, always lay the shadow box over the back to make sure you'll be able to close it. Step 5: Put together Now it's time to place the backing and the shadow box back together. Most boxes fasten in the back just like a picture frame. Step 6: Display Hang your box on a wall (make sure it's secure) or place it on a shelf to enjoy! 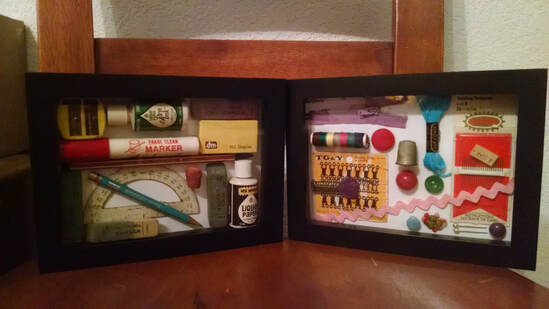 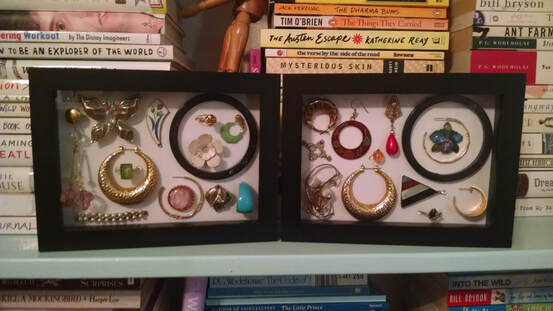
0 Comments
Seeing is believing isn't just a common idiom. Turns out there's a lot of power behind the simple act of visualization. By now most people have heard the story of Jim Carrey writing himself a check for $10 million when he was first starting out. He post-dated it ten years in the future and, lo and behold, he could easily cash it by 1995.
Here's another saying - what we focus on expands. If you focus on the negative, you'll find more things to be negative about. If you focus on the positive, you'll find more positive. Now imagine turning that mental energy toward focusing on what you want out of life. What you put out there, you attract. Self-help author Shiv Khera says, "If you can see the invisible, you can achieve the impossible." Which is what makes a vision board the perfect tool. Not only will creating a vision board give you a clearer picture of what you want, it will act as motivation, it will provide a daily reminder, and it will help you to mentally rehearse your best-case scenarios. The act of creating the board yourself will also help you to feel emotionally connected to your goals. In basic terms, the vision board turns dreams into goals. And that brings us to our first step: 1. Decide what kind of board you want You can create a Pinterest board that you've titled "Vision Board" and pin all of the things that speak to you. You can start a word document where you jot down notes or a desktop file where you can save pictures. You can cut up old magazines and glue pictures and words to poster board. Any of these methods will work so don't feel like you have to conform to any one idea of what a vision board should be. 2. Create your board Once you've decided what kind of board you want, you get to do the fun part of visually brainstorming. You can make a single board that encompasses all of your life goals (home, family, work, etc.) or you can create boards for individual areas (career is sometimes a big one). 3. Display your board Once you've cut and glued, cut and pasted, or pinned your dreams and goals, display them in a prominent place. Or don't. Conventional wisdom says that you should be able to see your board as a constant reminder and for some people this is true. If you tape a picture of that car you're saving up for to your bathroom mirror, it will act as great motivation every day to keep saving and not splurge on that extra shot. However, the act of creating the board itself is sometimes enough to cement those images in your mind - depending on your personality, tacking the board to the wall of your bedroom may mean that it eventually just blends into the scenery and it can't do much good there. Again, this is about finding what works for you. If you hate arts and crafts (We guess it's possible??), you can try a little creative writingtoo. Remember when you used to play MASH with your friends and would envision marrying Leonardo DiCaprio and driving a Limousine? Write out your wildest dreams life (sky's the limit!) and see what comes up. Or you can paint a picture, take some photographs. Just don't be shy. A vision board is for you. Don't let yourself get caught up in what you think you should want or what others have told you you should want - this is all about you! So get visualizing! It's manifesting time. Or, in the words of Joel Osteen, "God wants to know what you're believing for."  We do a lot of DIY here at The Daily Adventurer. You name it, and we've probably crafted it. Except kitten mittens - those are crazy hard. Some of our favorite things to make are t-shirts and once we discovered the secret ingredient that is Elmer's Craft Bond Spray Adhesive, there was not stopping us. We happen to adore tees with snappy sayings and "I Can't Adult Today" is not only one of our new favorite phrases, it's also our status roughly 65% of the time. So we pulled out an old purple shirt and some pink paint (going for an 80s vibe) and got to work to create our own. Here's what we did: Materials: A shirt (we recommend grabbing one from your closet or a thrift store) Craft paint (we like Apple Barrel and Delta Ceramcoat) Sponge roller Card stock Scissors Xacto Knife Tape of choice Pencil or Printer Self-healing mat Newspaper Step 1  Hand write or print out desired message or picture Step 2 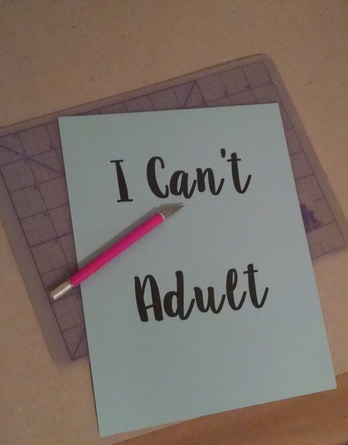 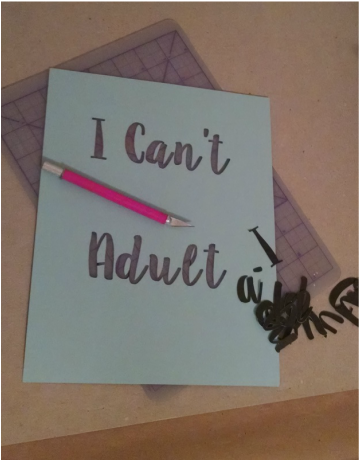 Carefully cut out letters with Xacto knife Step 3 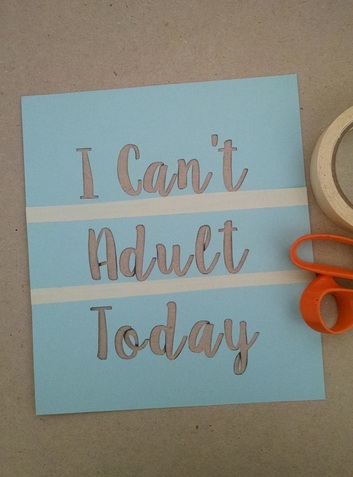 Align words to achieved desired spacing; tape papers together Step 4 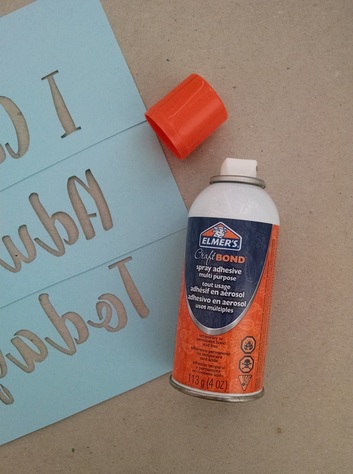 Lay down newspaper; spray back of stencil Step 5  Position stencil and press down firmly Step 6 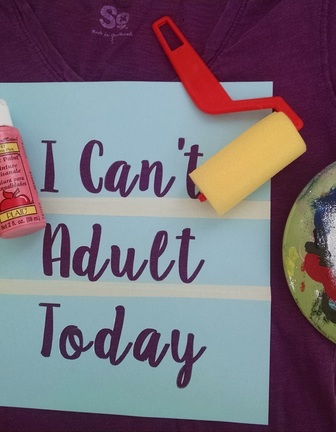  Roll paint over the stencil Step 7  Carefully remove stencil and voila! TIPS:
When spraying adhesive it is best to do it outside or in a well ventilated area After spraying, let the stencil sit for a minute before applying - this will make it easier to remove later Slide a piece of cardboard between the layers of t-shirt to keep paint from bleeding through Pour paint onto a paper plate so that your paint roller gets an even coat Be gentle when removing the stencil; use a pin to help lift up corners |
Create
"Adventure is the ultimate act of creativity." ~Miss Adventure Archives
December 2018
Categories |
 RSS Feed
